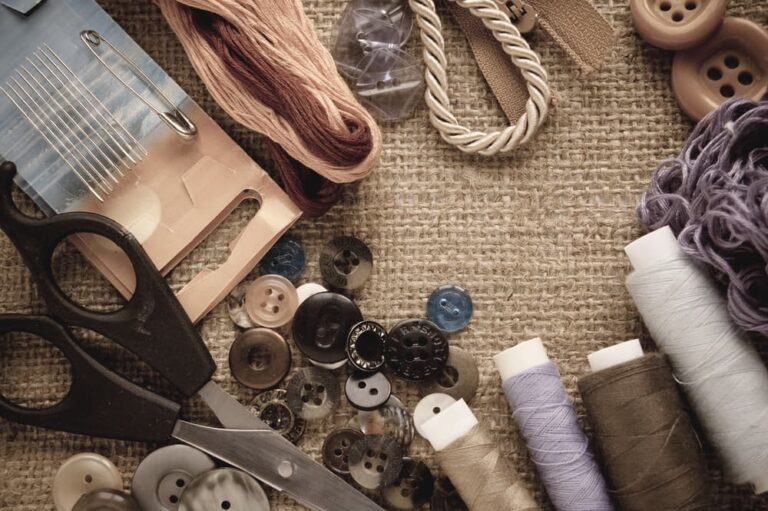
How To Make Embroidery Designs?
Embroidery designs are made from the whole cloth using a conventional embroidery machine. Tracked patterns or digitized flat-bed machines create computer software to complete.
The main aspects of any design, such as shape and color, are determined by the artist during creation. The majority of people make their designs for a specific fabric through transfer paper or contact.
This means that it will be possible to use your drawing on your fabric, so the image is always customized to form a finished product according? So if you want a certain type of picture in a particular position, this allows you to do so much more creative freedom when you have created yourself from scratch!
If you have tried using transfer paper to create an embroidery design, you will find that this is not correct.
The fabric can be easily seen under the transfer paper and if your embroidery machine needs to go over the fabric several times to get a good impression of it? So how do you remove or change an embroidery design so that it fits perfectly on your fabric? This article should give some useful tips which you can use!
How To Make Embroidery Designs? (Step By Step)
Step 1: Buy Transfer Paper
The transfer paper is a special paper for the printer and it can be reused many times. It does not need to be removed from the fabric because it is made of special materials that easily dissolve in water.
Step 2: Download The Image You Want To Embroidery Designs
You can get free pictures online, or buy what you like at an affordable price. Many websites are offering this service and they allow you to download them immediately for 300 dpi pattern formats (. JPG or . SVG). You can also visit sites such as Clip art which provides thousands of images that will help your creativity!
Step 3: Print Transfer Paper.
It’s so easy to print with a computer! All you have to do is connect your computer to your printer and then a window will appear on the screen that allows you to select what you want to do.
You can then see if the image is in the right place, it is all scaling correctly, and so on. Once this step has been done, you have to leave your paper for about 20 minutes before removing it from the machine.
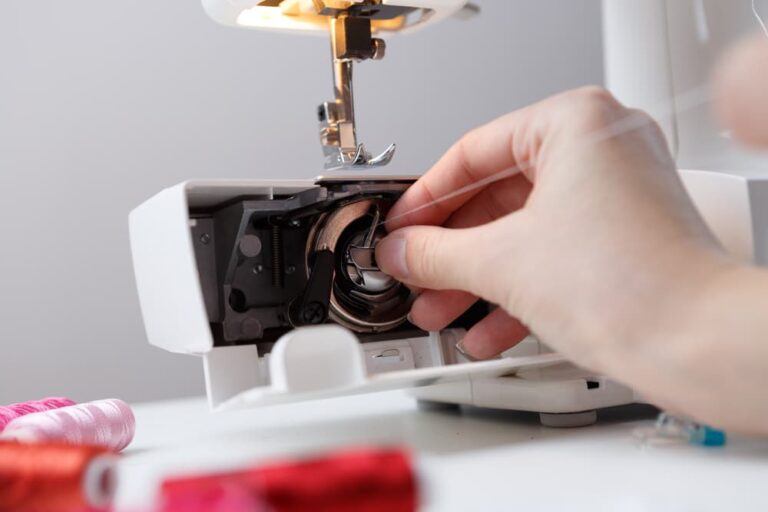
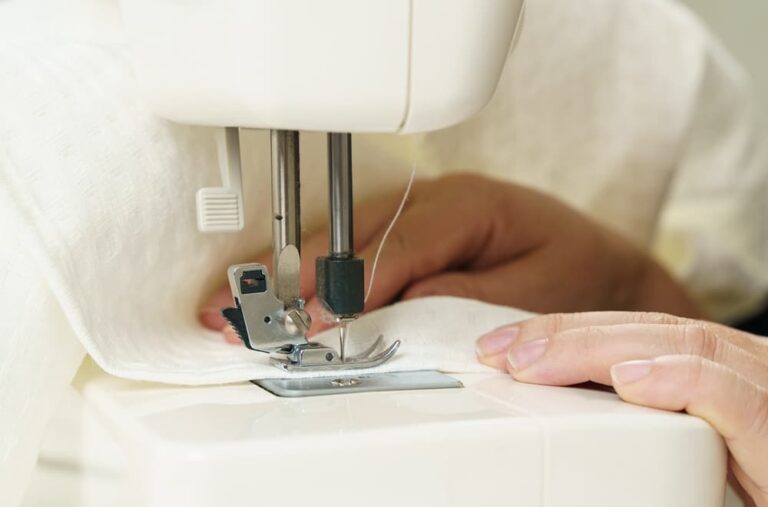
Step 4: Place Fabric In Your Embroidery Machine.
Now it’s time to get the fabric ready! It’s good practice to sew a test piece of fabric first using different threads and stitches, however, if you don’t have time or just feel brave enough? You can start directly with your final piece of fabric (a practice sheet usually gives us good information and saves us much time).
Once you have done this, select the stitches you will need to sew them with your sewing machine (on the left of your machine).
Step 5: Select “Transfer Paper” On Your Embroidery Designs.
Most machines are equipped with a function that allows us to sew digital designs directly from our computers. All you have to do is follow these simple steps: Connect your computer to your embroidery machine through a USB port.
Open the design files in an image editing software program such as Photoshop or Illustrator etc … Click Print!
This method gives us unlimited creative possibilities because we can use any type of fabric and thread. If transferring paper does not fit correctly, it’s easy to take off using water or steam so you can fix looks as you want.
Step 6: Print Out A Test Piece Of Fabric.
The advantage of doing this step is that if we make mistakes or adjustments, we will be able to correct them before going with our final product.
Also, depending on the type of software program you use, it might ask for a few moments to make the final conversion from the computer screen to your machine? Allow extra time if there are any traffic problems (which can occur).
The transfer paper usually comes with detailed instructions which you should read carefully! If you need help deciding what kind of design would fit perfectly on your fabric? Check out Drapers Online Embroidery Design Library!
This online collection has thousands of motifs and patterns that can be purchased and downloaded easily and quickly.
Step 7: Sew Your Embroidery Designs.
Depending on the design, you can adjust the size so it fits perfectly on your material using a 1-inch grid as a guide.
Try to use different settings such as length of stitch, the color of thread … so that there is more variation in the final piece. If you still have problems or questions about how to do this? You will find an abundance of free tutorials and tips online!
This article should help you get started and enable you to start making your embroidery designs!
Conclusion:
If you have any friends or relatives who are involved with embroidery work, please feel free to share this article with them because it’ll be useful for everyone. Thank you very much for reading this guide through until the end and I hope that everyone will gain something from it!
Keep reading improvesewing.com